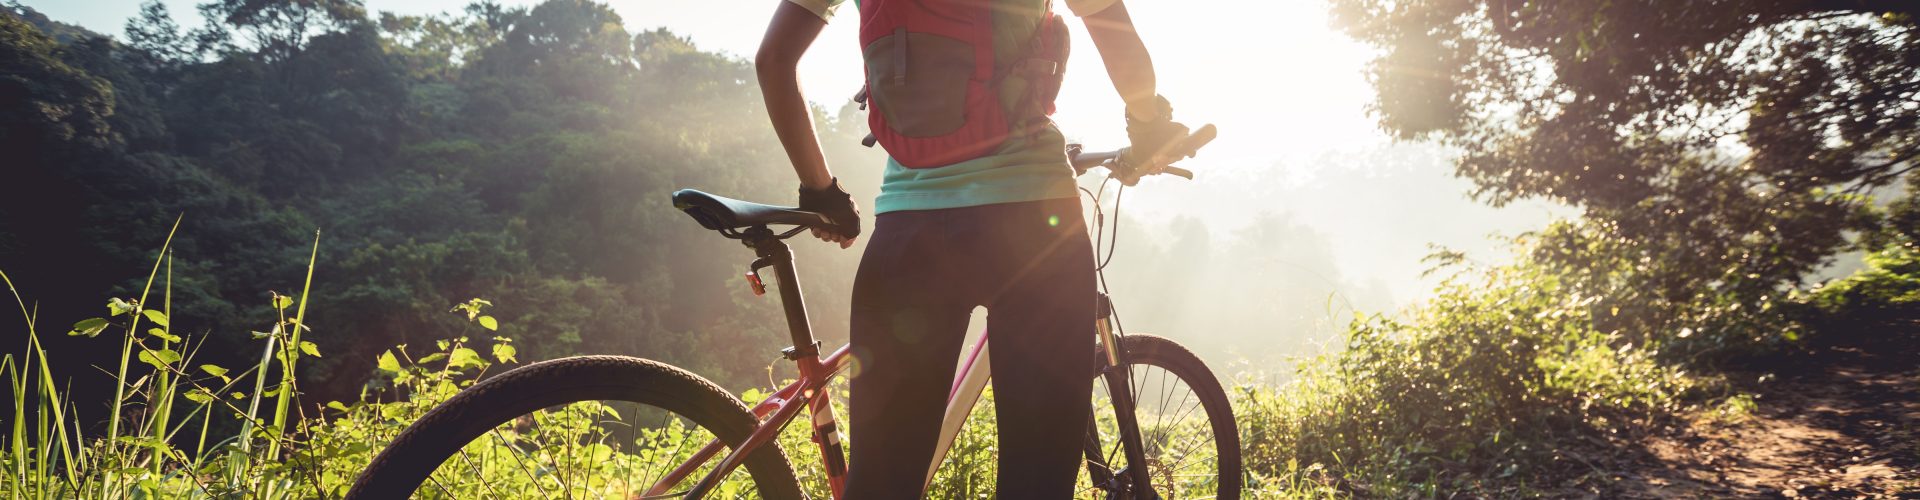
Introduction to women’s mountain biking
Mountain biking is a great way to get in shape, enjoy nature, and have a lot of fun with friends and family in the great outdoors. But it can be intimidating when you hear seasoned mountain bikers using words like “geometry” and “chamois” and “hardtail.” What are they talking about?
If you’re new to mountain biking but you’re ready to get your feet wet and start learning the lingo, this handy guide to women’s mountain biking will walk you through everything you need to know to get started.
What type of bike should I get?
Mountain bikes fall under three main categories: cross country bikes, downhill bikes, and trail bikes. A cross country bike is like an amped-up road bike– it’s designed to give you a nice ride on gravel roads and dirt trails that aren’t too steep. A downhill bike is designed to do just what it says: get you downhill quickly and easily.
A trail bike falls somewhere in between. It’s a good place for beginners to start, because it can handle most terrain. Later on if you decide to specialize, you can always change it up for a cross country or downhill model. You can expect to pay anywhere between $2,000-$5,000 for a decent mountain bike.
My personal favorites are the Yeti SB-130 and Ibis Ripley trail bikes. Both are full-suspension unisex bikes that crank on the uphill and rip it on the downhill.
Bike Sizing/Fit
Making sure your bike fits you properly is one of the most important things you can do to ensure success when you’re first starting out. Go to a local bike shop and try out different models, and get an expert opinion on the size that’s right for you, even if you don’t purchase from the shop. Keep in mind that lighter bikes are easier to maneuver, but are typically more expensive than cheaper, heavier bikes.
Women’s vs. Unisex
Mountain bikes come in women’s models and unisex models. Unisex bikes work for most women, unless you’re particularly small or you want a more “girly” color. Women’s models are designed for shorter and lighter riders, and they have a more female-friendly saddle (seat), but if you opt for a unisex bike, you can easily change out the saddle later.
Brakes: Mechanical vs. Hydraulic
Hydraulic disc brakes have a lot of performance perks, but mechanical disc brakes are a better option for beginners, since they’re less expensive and easier to maintain.
Shocks: Hardtail vs Dualie
A hardtail bike has shocks only on the front wheel, while a dualie has shocks on both the front and back wheels. Hardtail bikes are usually less pricey than dualies, and will often include higher quality components in the rest of the bike while staying in a beginner’s price range. Again, you can always upgrade later on if you want.
Tires: Tube vs. Tubeless Ready
Flat tires are the bane of every mountain biker’s existence, and tubeless tires can reduce the hassle of flats significantly. Even if you select a bike without tubeless tires, it’s a good idea to get one with wheels and rims that are tubeless ready so you can invest in a set later on if you choose.
What kind of gear do I need?
Long days in the saddle require a few extra supplies to keep you comfortable and safe while you ride. Here are a few items to add to your shopping list:
- Helmet: Make sure it fits snugly and wear it properly.
- Chamois shorts: Extra padding reduces saddle soreness.
- Padded gloves: Protect your hands from blisters, get better grip, and reduce soreness in your palms during long rides.
- Tire pump: Low = slow. Keep your speed up and improve control with properly inflated tires.
- Shock pump: Keep shocks pumped up and working properly.
- Flat repair kit: Have one with you to fix flats on the fly.
- First aid kit: Wipeouts are a given; be prepared!
- Good shoes: Make sure your shoes have thick soles and good grip to keep your feet securely on the pedals.
It’s always good to carry a repair kit when you’re on the trail. You can create your own by collecting the items above or use a bike kit like the Osprey Tool Roll.
What should I do to prepare before hitting the trail?
Once you have a bike that fits you and you’re stocked up on gear, you might feel ready to start ripping up the trails. But before you do, take some time to get to know your bike.
Visit the bike shop
If your bike is used, it’s a good idea to take it to a bike shop for a tune-up. A bike shop can show you how to check your tire pressure, grease the chain, and make sure your quick releases are in good working order– all things you should check before every ride. They can also adjust the shocks for your weight.
(Note: Bike shops are also a great resource for learning about the best local mountain biking trails.)
Start small
Start with easier, smoother trails to get used to off-road riding. As you get more comfortable, move on to tougher terrain. Practice braking, as mountain bike brakes are usually more sensitive than those on road bikes, and it can take some time to get the feel of them. Keep one or two fingers on each brake at all times, and always use both simultaneously.
Practice your form
Get into the habit of keeping your weight in your heels as you ride, with your pedals parallel to the ground. This position lowers your center of gravity and gives you more control. Ride with bent elbows, with your butt off the seat to allow your body to move with your bike and act as a shock absorber.
Practice looking ahead so you can plan your route in advance, and get the hang of shifting gears early to prepare for a change in grade. The more comfortable you are on your bike, the more relaxed you’ll be, and the more relaxed you are, the better you’ll be at handling obstacles.
Get expert advice
If you can, sign up for a mountain biking clinic, or ask to tag along with a more experienced rider who can show you the ropes. Both can educate you on proper trail etiquette and teach you some basic techniques for handling your bike on obstacles like sharp turns and steep hills before you tackle tougher trails.
Be patient
Be patient with yourself! Take each trail one obstacle at a time, and don’t ever be afraid to walk your bike if you need to. Your fitness will probably improve faster than your confidence will, and that’s okay. Keep getting out on the trails and you’ll be amazed at what you can do.
Are you getting into mountain biking or have been riding for a while? What’s your favorite style of trail? Leave in the comments below!
This post may contain affiliate links to brands we trust. If you use these links to purchase something we may earn a small commission. Thank you for your support!
[…] ample amounts of time in nature cycling (all types of cycling – she’s done everything from mountain biking to bike touring to fat biking) and taking beautiful photographs. Jamye’s story of discovering […]
[…] are still a plethora of activities in Telluride such as the Telluride Bluegrass Festival, ample mountain biking and fly […]
[…] Camp is a popular hiking, trail running and mountain biking trailhead just outside of town. Drive up Cascade Lakes Hwy past Widgi Creek Golf Course and it will […]